Installation
We assume you've already purchased and downloaded the 'Main File(s)' of AutomatorWP for LatePoint.
What's Included
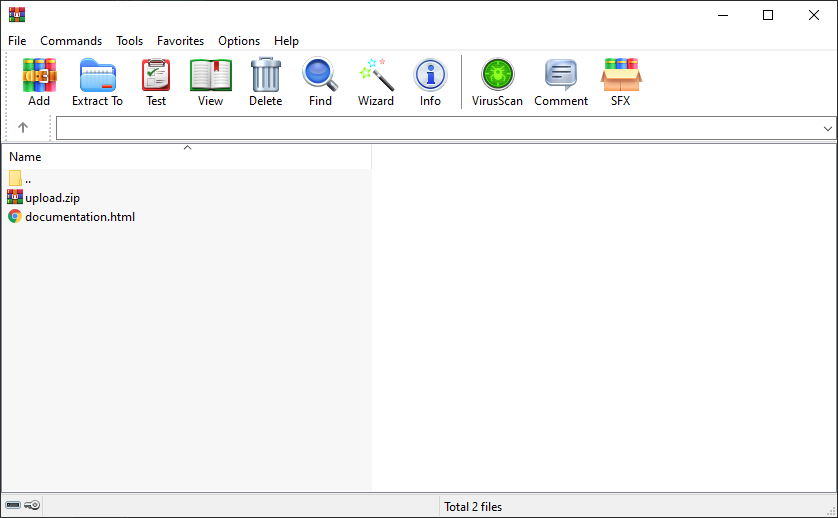
Your downloaded file will contain two (2) entries:
upload.zip(Which is what you'll extract/upload to WordPress' plugins directory)documentation.html(Which, when opened, brings you to the documentation you're reading now)

Methods of Installation
There are two methods by which you may install AutomatorWP for LatePoint. They are outlined below, step-by-step:
Upload via WordPress Admin (Recommended)
- Navigate to
Plugins>Add New. - Click the
Upload Pluginbutton at the top of the screen. - Select the
upload.zipfile from your local filesystem. - Click the
Install Nowbutton. - When installation is complete, you’ll see “Plugin installed successfully.” Click the
Activate Pluginbutton at the bottom of the page.
Manual Installation (Advanced)
- Extract the contents of
upload.zipinto theWP_CONTENT_DIR/pluginsfolder of your WordPress installation. If your installation is hosted remotely, upload said contents via cPanel file manager, FTP or SFTP. - In your WordPress Admin panel, navigate to
Plugins>Installed Plugins. - Locate AutomatorWP for LatePoint in the plugins list and click
Activate(below the plugin's name).
tip
By default, WP_CONTENT_DIR is wp-content. However, if you're using a customized WordPress framework, it
may vary. For example, in Bedrock WP_CONTENT_DIR is located at web/app.